Hey, Fluffsters!
Last night, I was up a bit too late again. But that was in part because of writing this post. But enough excuses. The main reason I stayed up too late was because I discovered a fun technique on Photoshop. I found a way to make fake windows!
All it took was a couple photos, Photoshop, and about 10 minutes… once I knew what I was doing
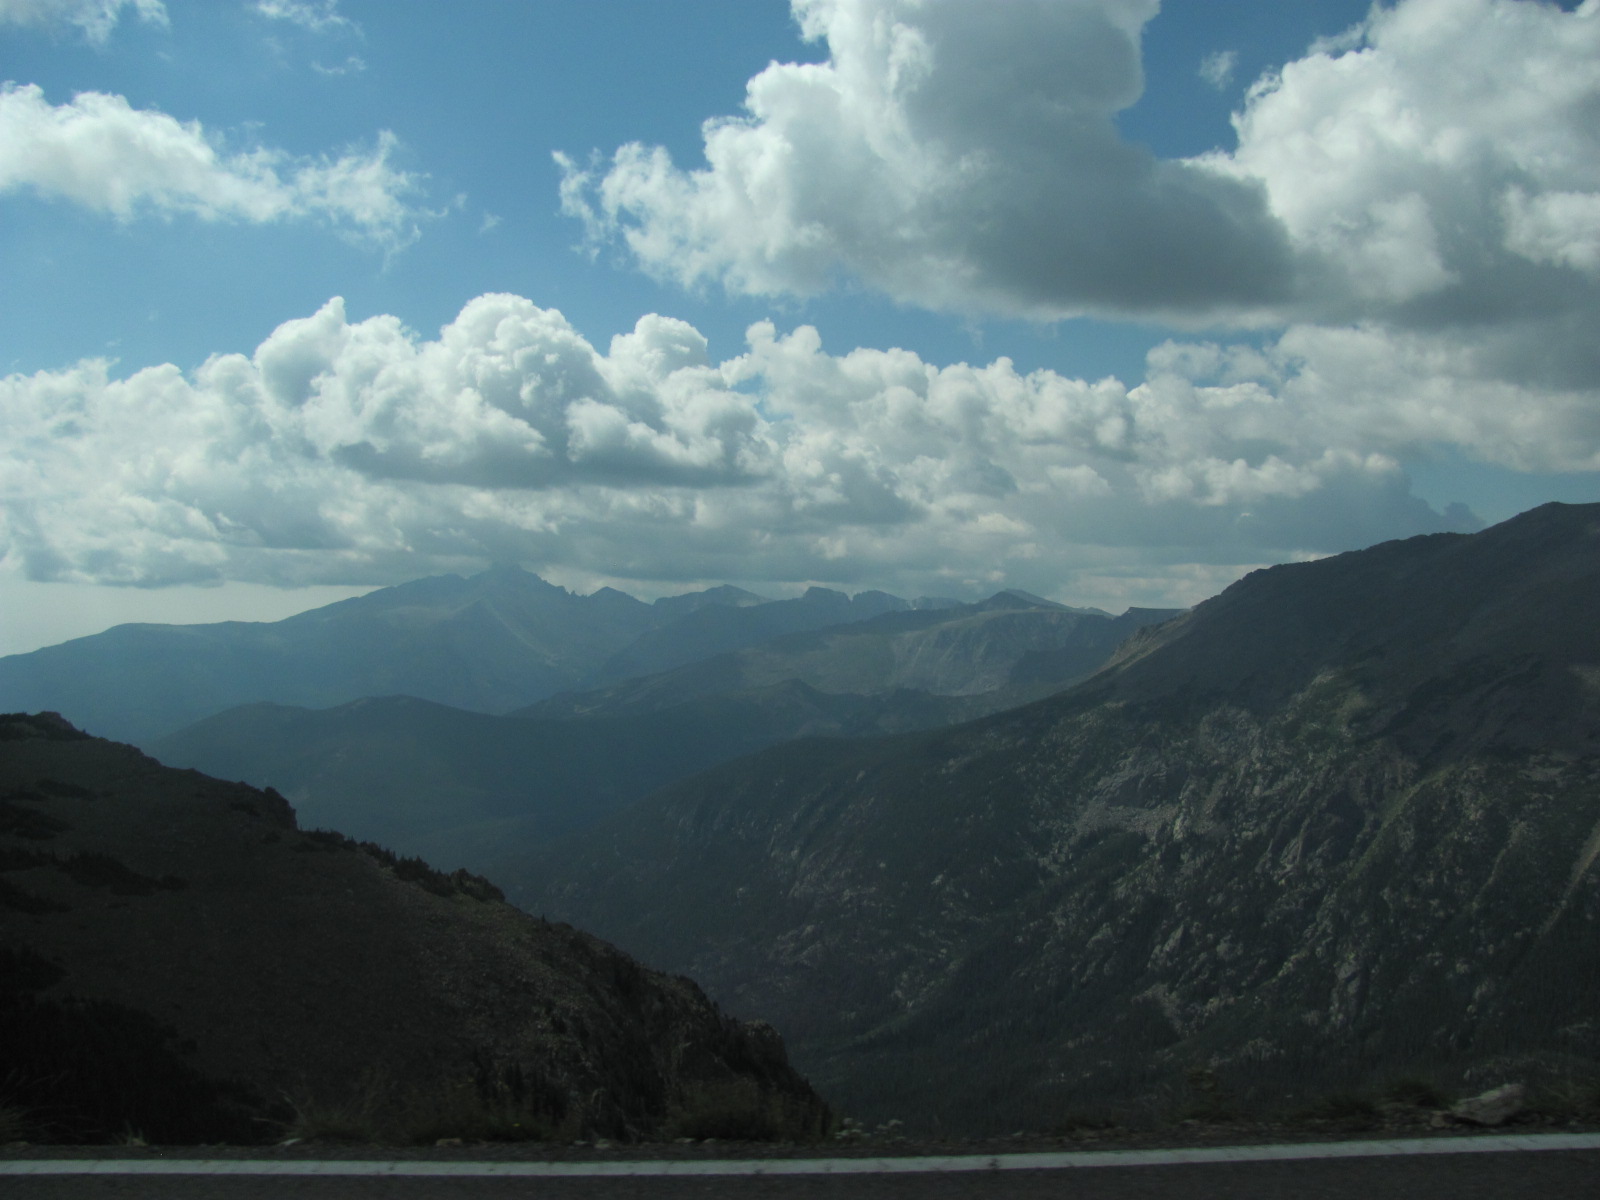
So, the two photos are completely separate, and started from these:

This is the original view the “window” looks out on

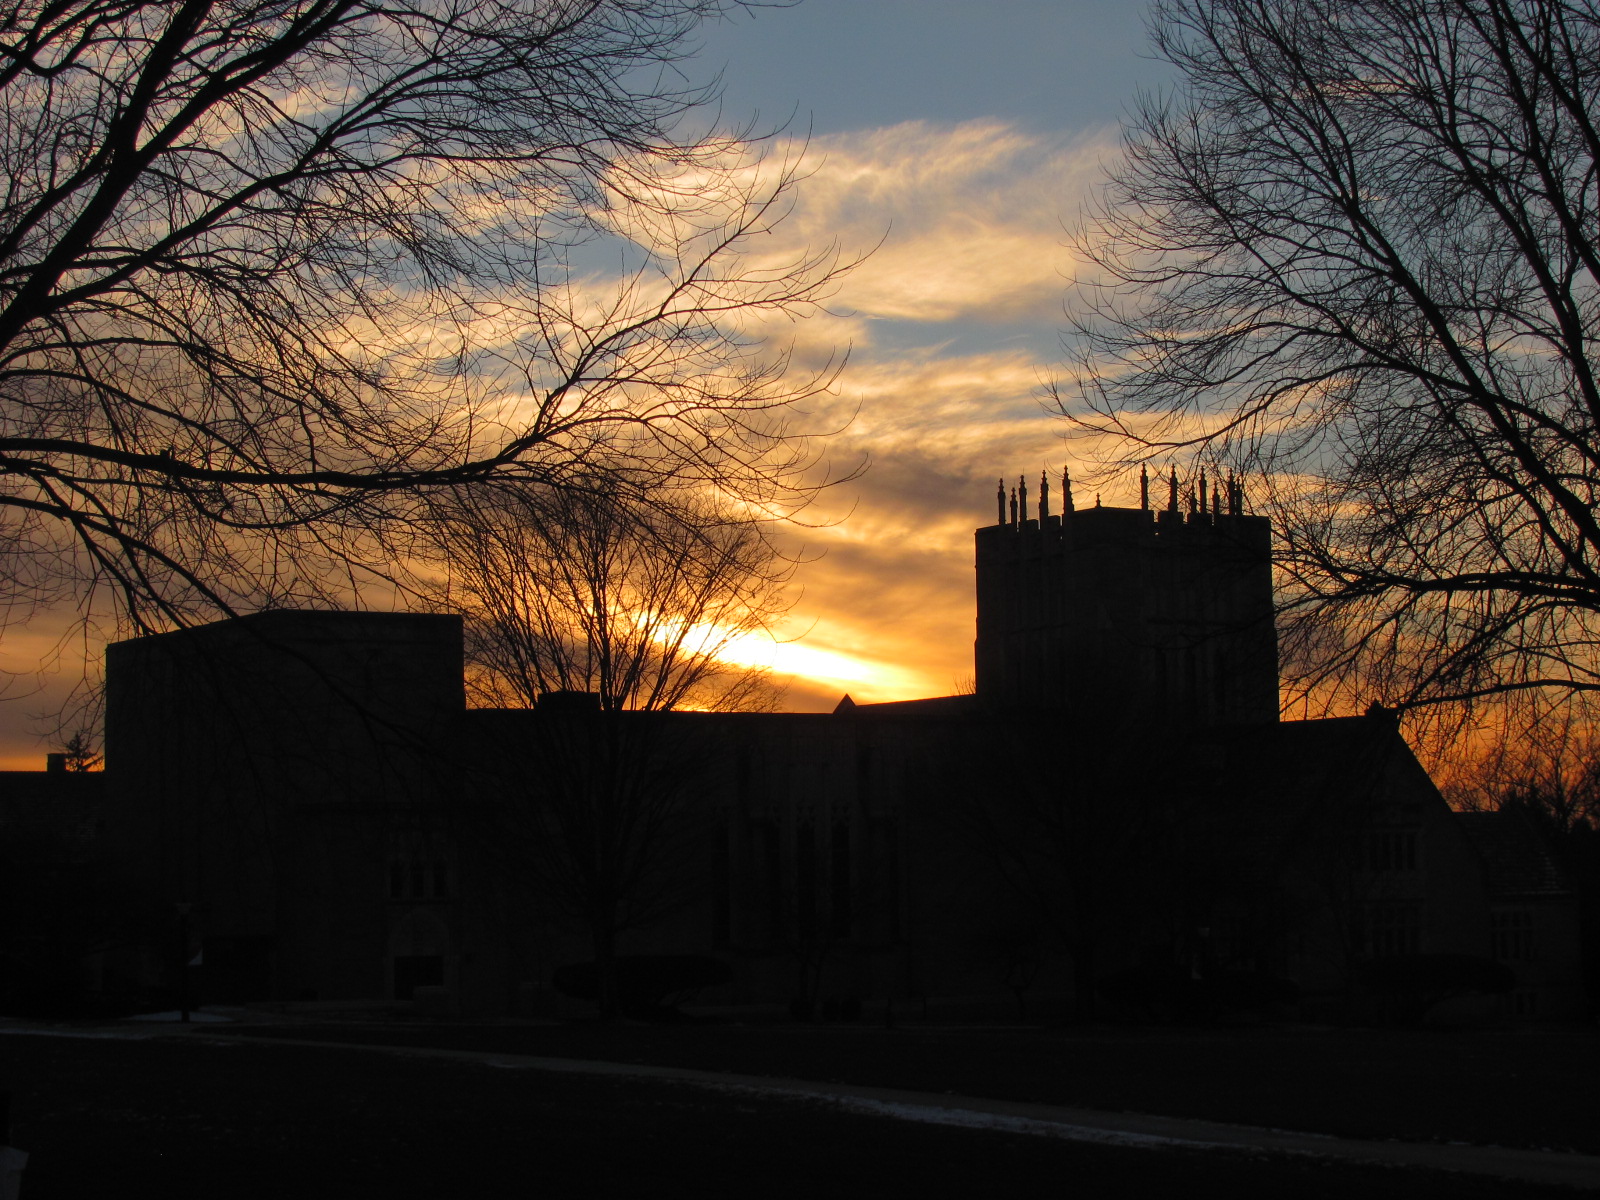
This is the one in the “frame”.
I next distorted the “view” picture using glass effects. I used the “frosted” glass option. For this one, I went with a small amount of distortion and a large amount of “smoothness”.
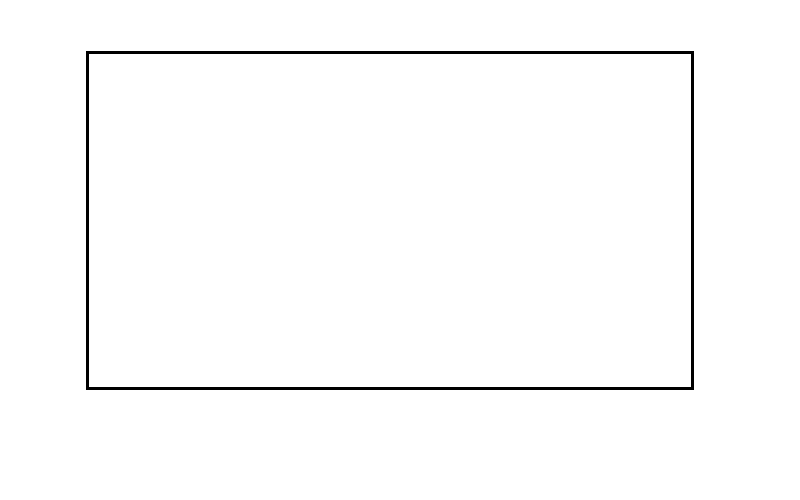
I then used vectors to create my frame shape, used a wood pattern I created a while ago to make the window look wooden, and bevelled the heck out of that layer. (Play around with it until you get something you like.) I used the “hard chisel” Inwards.
To create the frame shape, I used the rectangle tool. Next, I took three rectangles “out” of the shape, by using the “subtract” option on the rectangle tool. That’s what gives it the multi-paned look.
Have fun with the wood pattern… I don’t remember how I did that one.
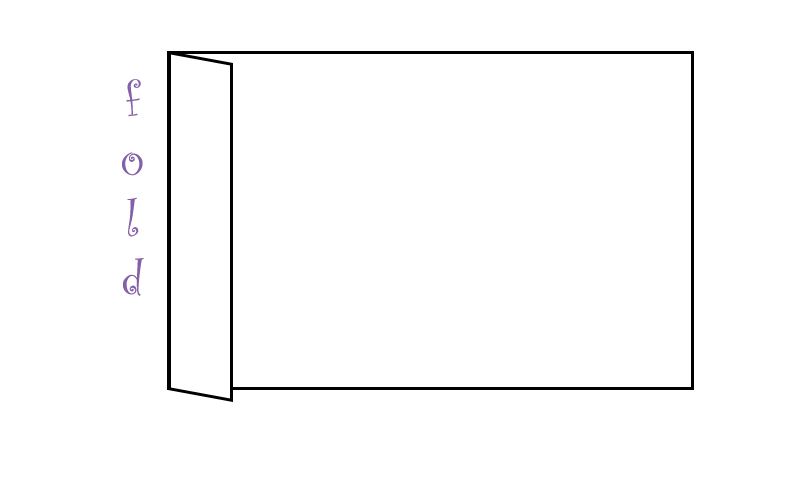
Next I copied the “framed picture” into the image I was working with, on a layer above the frame. I resized it, and moved it to where I wanted. Next, I gave it a fairly thick black stroke. Make sure it’s thick- you’re going to bevel this one, too.
So as I just said, go to bevel. Use the “stroke” bevel. Make sure the depth is less than the thickness of your stroke.
Next, create a new layer the size of your “framed picture”. (This will be your shadow.) Fill it with a dark color, and move it behind your frame. Skew it until it gets to be about the shape you want. Turn the setting to “Multiply”. Then give it a “box blur.” (Again, play around with the settings until you like what it shows.)
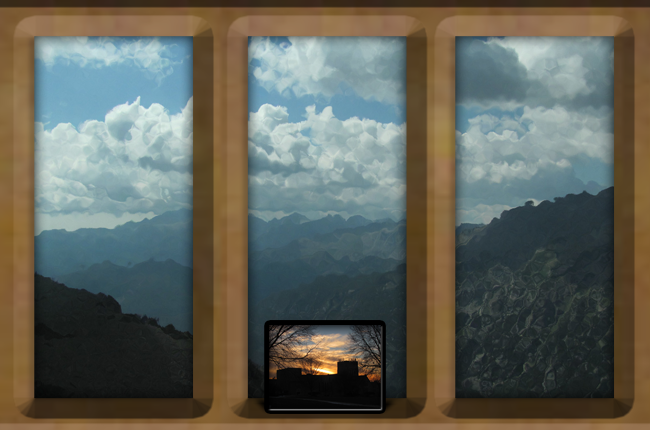
And that’s it!
I’ve done a few others of these windows, and just reuse the window frame. (And really, that’s the hardest part. So once you create one, you’re set for a while!)
And there you have it! Other possibilities include “taping” pictures to the window or window frame. Or create more “framed pictures” to go on the “window sill.”
Then you can either use it as a desktop background on your computer (and look “outside” when you’re not working), or you can maybe stick it on a wall to give yourself an extra cool window.
Have fun!